Sushi Rice Recipe:
My Journey to Perfectly Fluffy, Authentic Sushi Rice
When I first started making sushi at home, I quickly realized that the rice is just as important—if not more so—than the fish or fillings. Perfect sushi rice is the heart of every great sushi roll, and getting it right can transform your homemade sushi into something truly spectacular. Through trial and error (and plenty of sticky messes), I’ve finally mastered a sushi rice recipe that works every time, and I’m excited to share my experience with you.
My Initial Sushi Rice Struggles
I’ll admit, my first attempts at sushi rice were far from perfect. The rice was either too mushy, too dry, or lacked that signature tangy flavor. It wasn’t until I took the time to learn the process step by step that everything started to click. The secret? Patience and precision. Sushi rice is all about balance—between the grains’ texture, the seasoning, and the care you put into every step.
Ingredients for the Perfect Sushi Rice
Here’s the list of ingredients I always keep on hand when I’m preparing sushi rice:
- 2 cups of sushi rice (short-grain or medium-grain rice works best)
- 2 ½ cups of water
- ¼ cup rice vinegar
- 2 tbsp sugar
- 1 tsp salt
These simple ingredients, when treated with care, can create rice that’s fluffy, flavorful, and the perfect base for sushi.


The Step-by-Step Process
1. Selecting the Right Rice
Choosing the right type of rice was a game-changer for me. Sushi rice is typically short-grain or medium-grain, which becomes slightly sticky when cooked. My favorite brand is Koshihikari—it’s reliable and gives me that ideal texture.
2. Washing the Rice
This step might seem tedious, but it’s crucial. Washing removes excess starch, preventing the rice from becoming overly sticky or gummy.
Here’s what I do:
- Place the rice in a large bowl and cover it with cold water.
- Gently swirl the rice with your hand, then pour off the cloudy water.
- Repeat this process 4-5 times until the water runs mostly clear.
I’ll never forget the first time I took the time to rinse thoroughly. The rice turned out beautifully, with each grain distinct yet perfectly sticky.
3. Soaking the Rice
Soaking the rice before cooking helps the grains absorb water evenly. After washing, I let the rice soak in clean water for about 30 minutes. It might seem like an unnecessary wait, but trust me, this step ensures a consistent texture.
4. Cooking the Rice
I used to overcomplicate this step, but now I stick to a straightforward method using my rice cooker.
- Add the washed, soaked rice to the cooker along with 2 ½ cups of water.
- Let it cook on the standard setting for white rice.
If you don’t have a rice cooker, don’t worry—a pot on the stove works just as well.
Stovetop Method:
- Combine the rice and water in a pot.
- Bring it to a boil, then reduce the heat to low and cover the pot.
- Let it simmer for 18-20 minutes, then remove it from the heat and let it sit, covered, for another 10 minutes.
5. Preparing the Sushi Vinegar
The seasoning is what gives sushi rice its signature tangy-sweet flavor. Here’s how I make it:
- In a small saucepan, combine ¼ cup rice vinegar, 2 tbsp sugar, and 1 tsp salt.
- Warm the mixture over low heat until the sugar dissolves—don’t let it boil.
This step always fills my kitchen with a wonderful aroma, a hint of what’s to come.
6. Mixing the Rice and Vinegar
Once the rice is cooked, I transfer it to a large, shallow bowl (a wooden hangiri is ideal, but any large bowl works).
Here’s my technique:
- Pour the seasoned vinegar over the hot rice.
- Use a wooden spoon or spatula to gently fold the rice, cutting through it rather than stirring, to avoid smashing the grains.
- Fan the rice as you mix to cool it quickly and give it a glossy finish.
The first time I nailed this step, I felt like a sushi chef in training. The rice was fragrant, shiny, and perfectly seasoned.

Tips I Wish I Knew Earlier
- Don’t Skip the Cooling Process: Cooling the rice properly is essential to achieving the right texture. A fan or even a folded piece of cardboard works wonders.
- Measure Precisely: Sushi rice is all about balance, so stick to the measurements, especially for the seasoning.
- Use the Rice Immediately: Sushi rice is best used while slightly warm. Leaving it out for too long can dry it out.
How I Use Sushi Rice
Perfect sushi rice is versatile and can be used in so many dishes. Here are some of my favorites:
Classic Sushi Rolls (Maki)
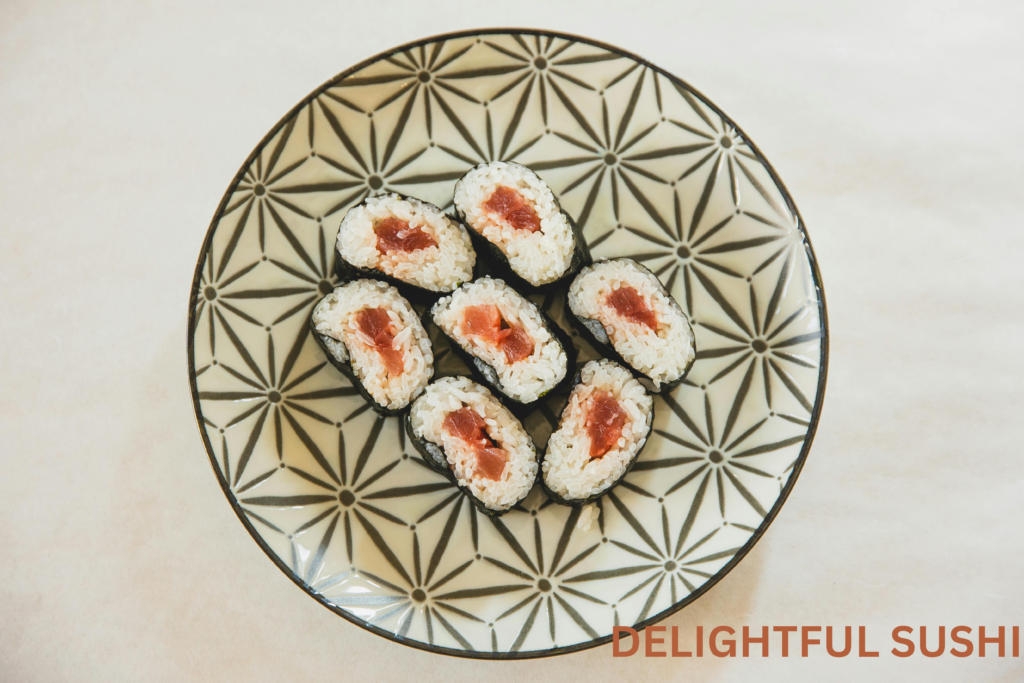
Making sushi rolls at home is an activity I love doing with friends or family. With a bamboo mat, some nori (seaweed sheets), fresh fillings like salmon or avocado, and my perfectly seasoned rice, we create delicious rolls that rival our favorite sushi spots.
Nigiri Sushi
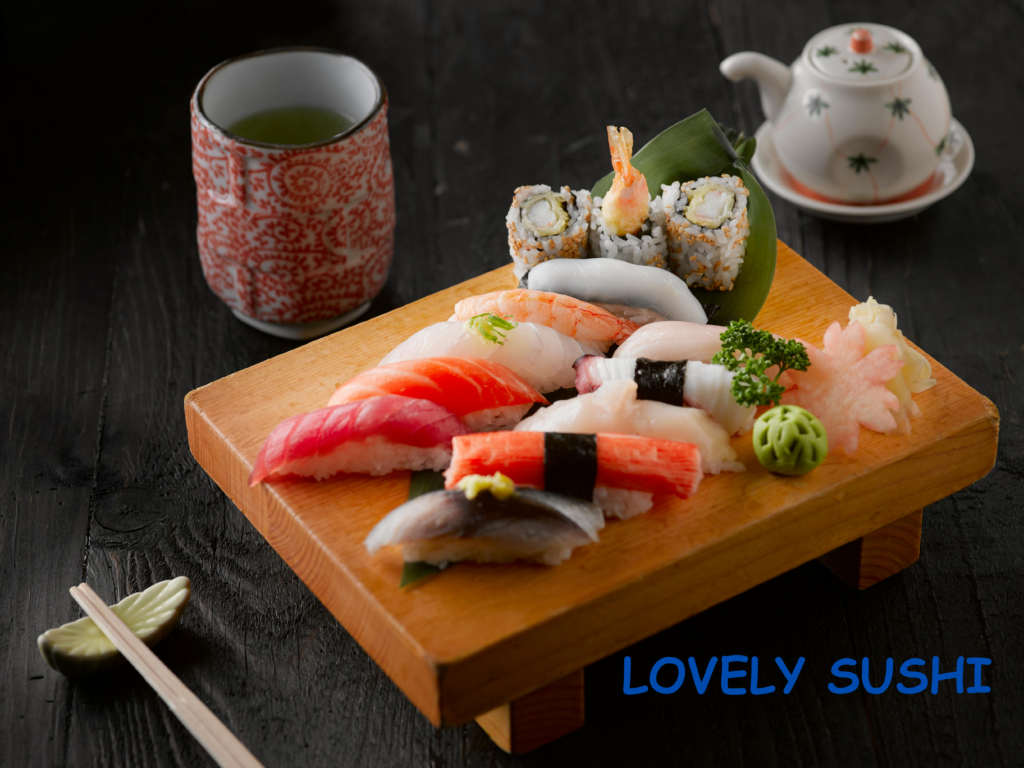
For a more traditional experience, I shape the rice into small mounds and top them with slices of sashimi. A little dab of wasabi under the fish and a drizzle of soy sauce—it’s simple and elegant.
Sushi Bowls
On busy days, I skip the rolling and make sushi bowls instead. I layer the rice with toppings like crab, cucumber, edamame, and spicy mayo. It’s quick, satisfying, and every bit as flavorful.
Onigiri (Rice Balls)
Onigiri is a great way to enjoy sushi rice as a snack. I shape the rice into triangles, add a filling like tuna or pickled plum, and wrap them in a strip of nori. They’re perfect for picnics or packed lunches.
My Sushi Rice Mishaps
No kitchen journey is complete without a few mishaps, and I’ve had my share. Once, I forgot to wash the rice and ended up with a pot of gluey, unappetizing mush. Another time, I used too much vinegar, and the rice was overpoweringly sour. These mistakes taught me the importance of patience and precision—two qualities I now embrace every time I make sushi rice.
Why I Love Making Sushi Rice
There’s something meditative about the process of preparing sushi rice. From washing and soaking to fanning and folding, each step requires attention and care. It’s a labor of love that pays off every time I take that first bite.
More importantly, making sushi rice at home has brought my family together. Whether we’re rolling sushi, shaping nigiri, or building bowls, it’s an activity that sparks creativity and laughter in my kitchen.
Final Thoughts
Perfecting sushi rice took me on a culinary journey that I’ll always cherish. Now, whenever I prepare it, I’m reminded of how far I’ve come from those early, clumpy attempts. This recipe has become a staple in my home, and I hope it brings you the same joy it’s brought me.
If you’re new to making sushi rice, don’t be discouraged by initial hiccups. With practice and care, you’ll find your rhythm, and soon, you’ll be creating sushi rice that’s just as good as what you’d find in a restaurant.
Happy cooking, and enjoy your sushi adventures!
