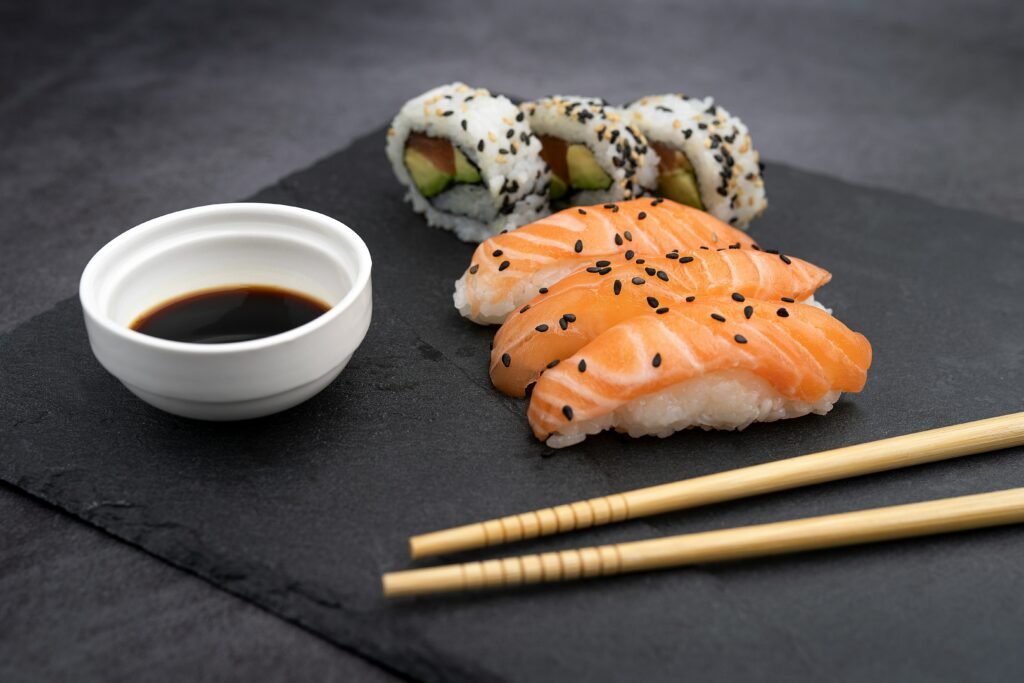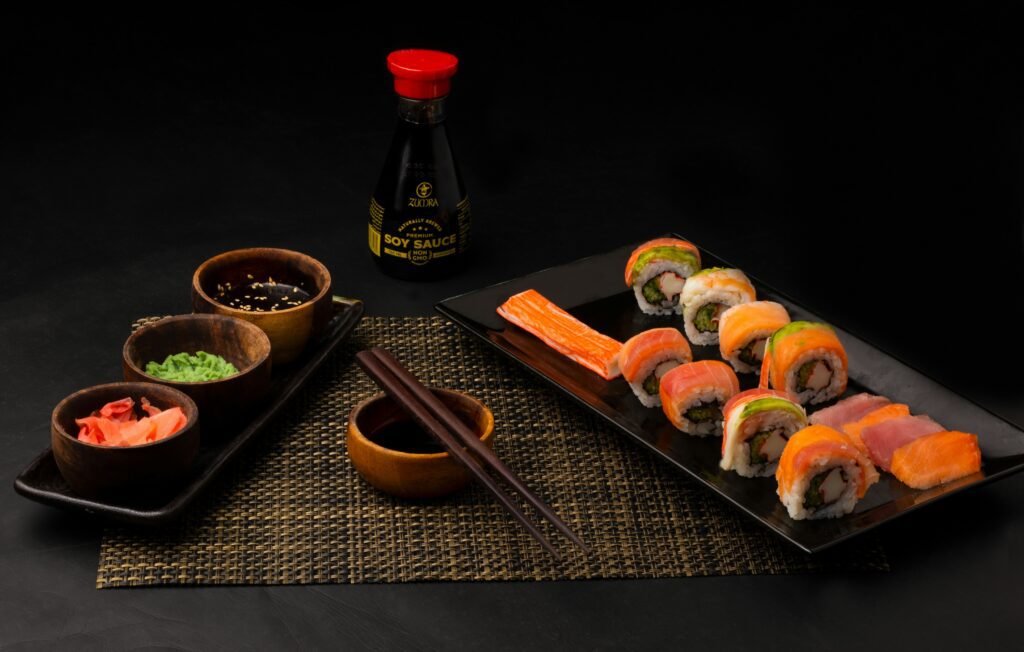
Sushi Recipe: Sushi is more than just a meal; it’s an art form that balances flavors, textures, and presentation. My journey with sushi began as a dining-out indulgence, but the idea of making it at home always intrigued me. After multiple attempts, a bit of trial and error, and plenty of practice, I finally nailed my own sushi recipe that’s both beginner-friendly and authentic.
Today, I’m thrilled to share my sushi-making experience and a detailed recipe that will guide you step-by-step to create delicious rolls in your kitchen. Whether you’re a sushi enthusiast or trying it for the first time, this guide will help you craft restaurant-quality sushi at home.
Why Make Sushi at Home?
Making sushi at home might sound intimidating, but trust me—it’s simpler than you think. The best part? You can customize every roll to your liking, whether you love classic combinations like tuna and avocado or prefer vegetarian options with fresh veggies.
Besides the creative aspect, homemade sushi is more affordable and healthier since you control the ingredients. Plus, it’s a fun activity to share with family and friends.
Sushi Recipe Essentials: What You’ll Need
Before diving into the recipe, let’s talk about the basic ingredients and tools required for making sushi.
Ingredients:
- Sushi Rice:
Short-grain Japanese rice works best. You’ll need 2 cups for this recipe. - Rice Vinegar Mixture:
- 1/3 cup rice vinegar
- 2 tablespoons sugar
- 1 teaspoon salt
- Nori (Seaweed Sheets):
These are essential for rolling sushi. Look for high-quality nori for the best flavor. - Fresh Fillings:
- Protein: Raw fish like tuna, salmon, or cooked shrimp. (Ensure it’s sushi-grade if raw!)
- Vegetables: Cucumber, avocado, carrots, or pickled radish.
- Optional: Cream cheese or spicy mayo for extra flavor.
- Soy Sauce and Wasabi:
For dipping and adding a bit of heat. - Pickled Ginger:
A palate cleanser to enjoy between bites.
Tools:
- Bamboo Sushi Mat (Makisu): For rolling the sushi.
- Sharp Knife: A clean cut is crucial for presentation.
- Plastic Wrap: To prevent sticking when rolling.


Step-by-Step Sushi Recipe
1. Prepare the Sushi Rice
The foundation of any good sushi roll is perfectly cooked and seasoned rice. Here’s how I do it:
- Rinse 2 cups of sushi rice under cold water until the water runs clear. This removes excess starch for fluffier rice.
- Cook the rice using a rice cooker or stovetop according to package instructions.
- While the rice cooks, heat rice vinegar, sugar, and salt in a small saucepan over low heat until the sugar dissolves. Do not boil.
- Once the rice is done, transfer it to a large bowl and gently fold in the vinegar mixture with a wooden spoon. Let it cool to room temperature.
Pro Tip: Avoid refrigerating the rice—it can become hard and lose its stickiness.
2. Prep Your Fillings
While the rice cools, prepare your fillings:
- Slice the fish and vegetables into thin, even strips.
- Arrange everything neatly on a platter for easy assembly.
3. Assemble the Sushi Roll
Rolling sushi is easier than it looks, but it does take a bit of practice.
- Place a bamboo mat on a flat surface and cover it with plastic wrap to prevent sticking.
- Lay a sheet of nori, shiny side down, on the mat.
- Wet your hands with water to prevent the rice from sticking. Spread a thin, even layer of rice over the nori, leaving about 1 inch at the top edge uncovered.
- Add your fillings horizontally across the center of the rice. Be careful not to overfill!
Pro Tip: For inside-out rolls (where the rice is on the outside), flip the nori after spreading the rice and add fillings directly on the nori.
4. Roll the Sushi
Here’s the fun part!
- Lift the edge of the bamboo mat closest to you and begin rolling it tightly over the fillings, applying gentle pressure to form a compact roll.
- Once rolled, press along the seam to seal the edge of the nori.
- Use a sharp knife dipped in water to slice the roll into even pieces.
5. Serve and Enjoy
Arrange your sushi rolls on a platter and serve with soy sauce, wasabi, and pickled ginger. Add a drizzle of spicy mayo or sesame seeds for extra flair if you’d like!
My Personal Sushi-Making Journey
When I first tried this sushi recipe, I was overwhelmed by the process. My rolls were uneven, and the rice-to-filling ratio was off. But each attempt taught me something new—like the importance of a sharp knife and the art of spreading rice evenly.
The turning point came during a sushi-making night with friends. We laughed through the imperfections and shared tips, turning the experience into a fun, collaborative effort. By the end, we had a spread of sushi rolls that rivaled our favorite restaurant!

Common Mistakes and How to Avoid Them
- Overfilling the Roll: Less is more. Overloading your roll can make it difficult to seal and slice.
- Using Hot Rice: Always let the rice cool to room temperature before assembling.
- Dull Knives: A sharp knife is essential for clean cuts. Wetting the blade between slices prevents sticking.
- Using Non-Sushi-Grade Fish: If you’re using raw fish, ensure it’s labeled sushi-grade for safety.
Customizing Your Sushi Rolls
One of the best things about making sushi at home is the endless possibilities for customization. Here are a few ideas:
- Vegetarian Rolls: Try sweet potato tempura, avocado, and cucumber.
- Spicy Rolls: Mix diced tuna or salmon with sriracha and mayo for a spicy filling.
- Fusion Rolls: Add ingredients like mango, cream cheese, or jalapeños for a unique twist.
Why This Sushi Recipe Works
- Beginner-Friendly: Straightforward steps make it easy to follow.
- Customizable: You can tailor the fillings and flavors to suit your preferences.
- Budget-Friendly: Enjoy restaurant-quality sushi without breaking the bank.
- Fresh and Healthy: Homemade sushi lets you control the quality and freshness of your ingredients.
Final Thoughts on Making Sushi
Learning to make sushi at home has been one of the most rewarding culinary adventures of my life. This sushi recipe has become a staple for family gatherings, date nights, and even solo cooking experiments. Each roll is a blend of creativity and flavor, and the joy of sharing it with loved ones is unmatched.
If you’ve been hesitant to try making sushi at home, take the leap! With a bit of practice, you’ll be rolling like a pro in no time. And remember—every roll, perfect or not, is part of the learning process.
Let me know if you try this recipe—I’d love to hear about your sushi-making journey!
