Kimchi Recipe: Kimchi is more than just a side dish—it’s a cultural icon, a flavor bomb, and a health powerhouse. My journey with kimchi began years ago when I first tasted it at a Korean BBQ restaurant. The tangy, spicy, and slightly sweet flavors intrigued me so much that I knew I had to try making it myself. Since then, making kimchi has become a ritual in my kitchen—a rewarding process that fills my home with the aroma of spices and fermentation magic.
Today, I’m excited to share my personal experience and my foolproof kimchi recipe that you can easily recreate at home. Whether you’re a seasoned fermenter or a curious beginner, this guide will help you make delicious kimchi with confidence.
Why Kimchi Recipe at Home?
Before diving into the recipe, let me tell you why I think everyone should try making kimchi at least once. First, it’s incredibly versatile—you can eat it as a side dish, add it to fried rice, or use it in stews. Second, it’s loaded with probiotics, vitamins, and antioxidants that are great for gut health. Lastly, there’s something deeply satisfying about fermenting your own food and watching it transform over time.
Ingredients You’ll Need for Kimchi
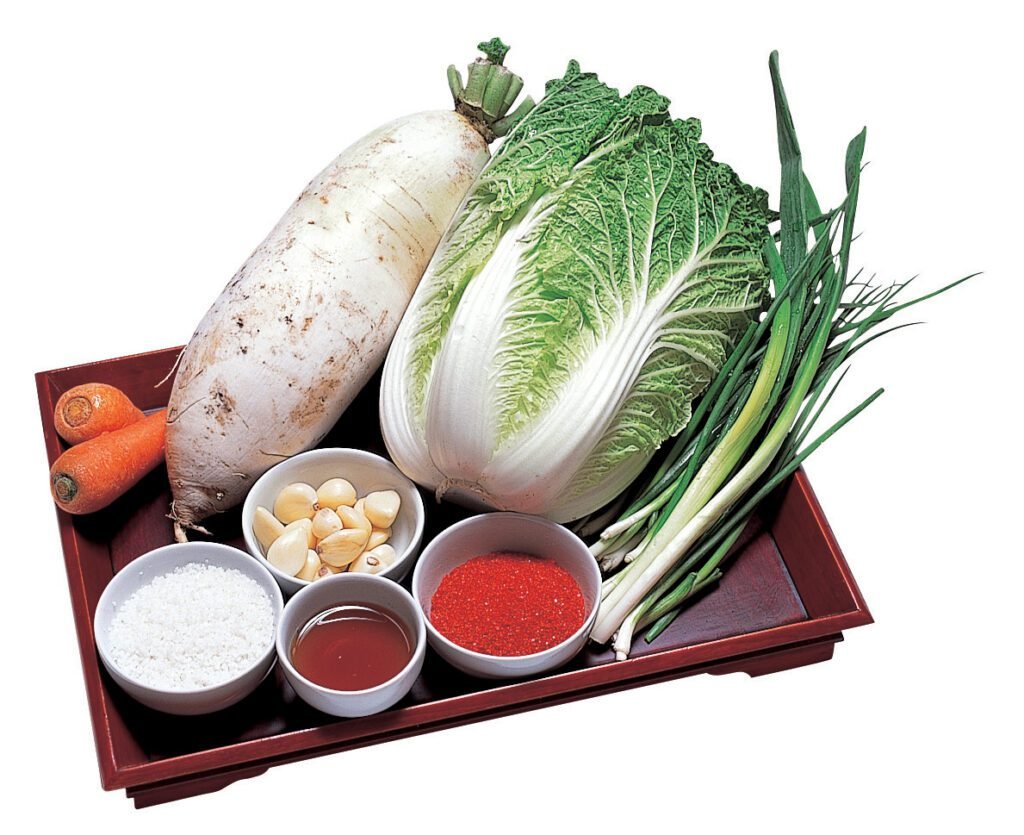
Making kimchi requires a handful of ingredients, but each one plays a crucial role in building its complex flavors. Here’s what you’ll need:
For the Kimchi Base:
- 1 medium Napa cabbage (about 2–3 pounds)
- 1/4 cup sea salt
- 4 cups water
For the Kimchi Paste:
- 1/4 cup Korean red pepper flakes (gochugaru): Adjust for your spice tolerance.
- 1 tablespoon sugar
- 2 tablespoons fish sauce (or soy sauce for a vegan version)
- 2 tablespoons glutinous rice flour (optional, for thickening)
- 1/2 cup water (for making the rice flour paste)
- 1 tablespoon grated ginger
- 4 cloves garlic, minced
- 2 green onions, sliced
- 1/2 small radish, julienned
- 1 medium carrot, julienned
Optional Add-ins:
- Oysters or shrimp paste: For a traditional twist.
- Korean chives: For added flavor.


My Step-by-Step Kimchi Recipe
1. Preparing the Cabbage
This is the foundation of any good kimchi recipe, so don’t rush it!
- Chop the Napa cabbage into quarters lengthwise, then cut into bite-sized pieces.
- In a large bowl, dissolve 1/4 cup sea salt in 4 cups of water. Submerge the cabbage pieces in the salty water, ensuring every leaf is coated. Let it soak for 2–3 hours, tossing occasionally.
- Rinse the cabbage thoroughly under cold water to remove excess salt. Drain well.
2. Making the Kimchi Paste
This is where the magic happens. The paste is what gives kimchi its signature flavor.
- If using glutinous rice flour, make a paste by whisking it with 1/2 cup water in a small saucepan over medium heat until thickened. Let it cool.
- In a mixing bowl, combine the cooled rice flour paste (if using), gochugaru, sugar, fish sauce, grated ginger, minced garlic, and a splash of water. Mix well to form a thick, vibrant paste.
- Stir in the sliced green onions, julienned radish, and carrot.
3. Combining the Cabbage and Paste
This step is hands-on and fun!
- Wearing food-safe gloves (to protect your hands from the spice), add the drained cabbage to the kimchi paste mixture.
- Massage the paste into every layer of cabbage until evenly coated. Take your time with this step—it ensures that every bite is packed with flavor.
4. Fermenting the Kimchi
This is where patience pays off.
- Pack the kimchi tightly into a clean, sterilized jar, leaving about an inch of space at the top for expansion.
- Press down firmly to eliminate air pockets and release some brine.
- Close the jar loosely or cover it with a fermentation lid to allow gases to escape.
- Leave the jar at room temperature for 1–3 days. Check it daily—once bubbles start forming, you know fermentation has begun.
- Transfer the jar to the refrigerator to slow down fermentation. Kimchi is best after 1–2 weeks but can be enjoyed sooner if you prefer a fresher taste.

Tips and Tricks for Perfect Kimchi
- Choose the Right Cabbage: Napa cabbage is traditional, but you can experiment with bok choy or green cabbage for variety.
- Adjust the Spice Level: If you’re sensitive to heat, reduce the gochugaru or use a mild variety.
- Keep It Clean: Always use clean utensils and jars to prevent unwanted bacteria from interfering with fermentation.
- Taste Along the Way: Don’t hesitate to taste your kimchi during the fermentation process—it’s a great way to learn what flavor profile you prefer.
- Experiment with Add-ins: Once you’ve mastered the basics, try adding fruits like Asian pears for sweetness or nuts for crunch.
My Personal Kimchi Journey
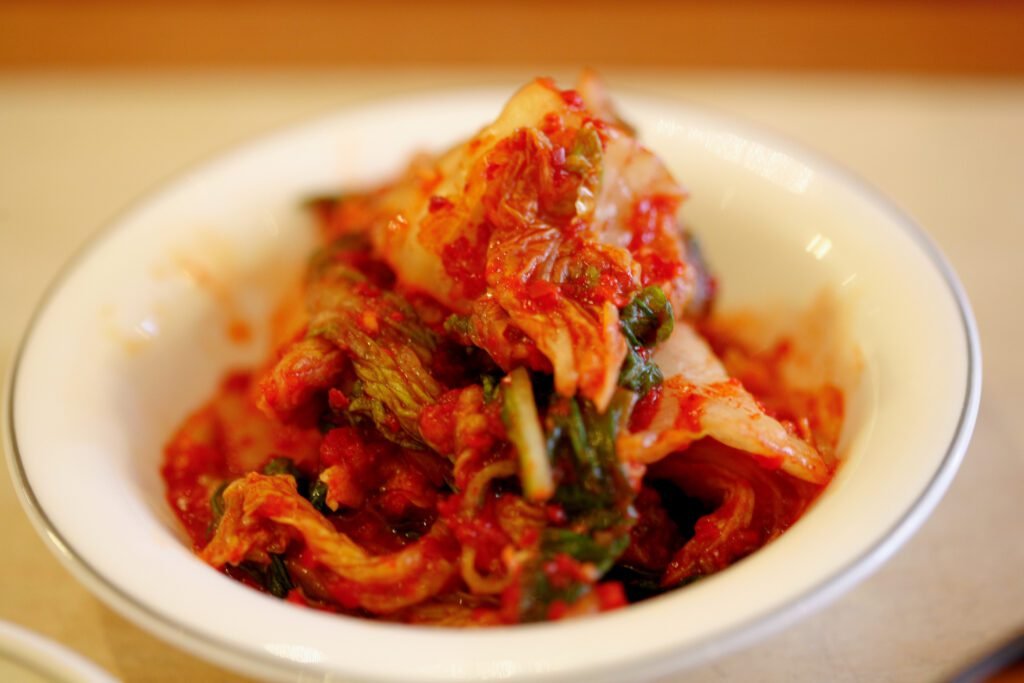
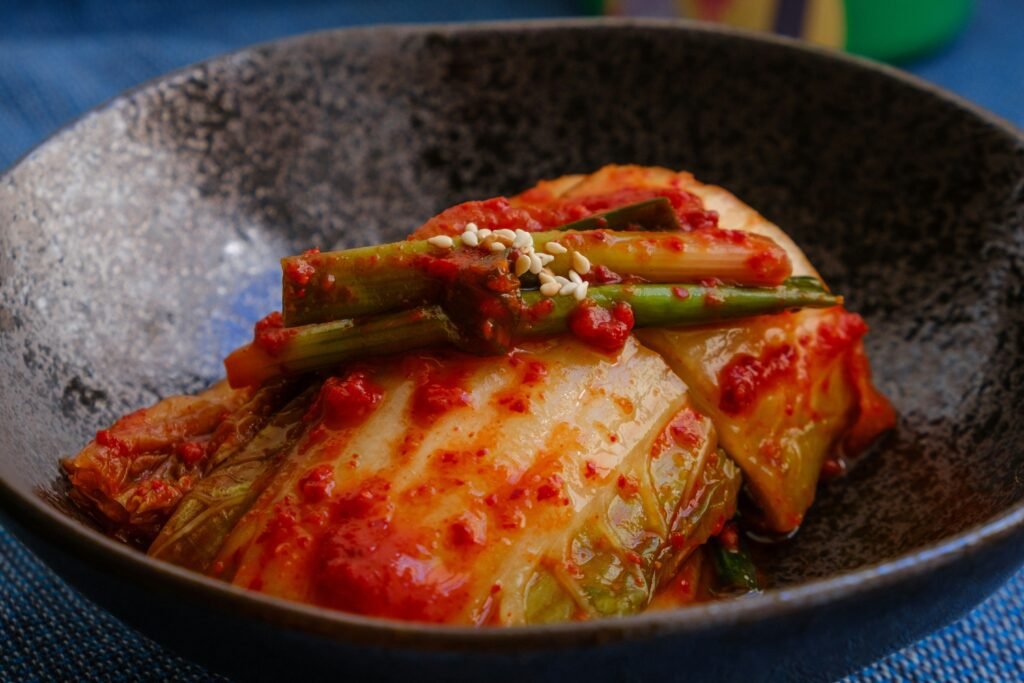
When I first attempted this kimchi recipe, I was nervous. Fermentation felt like a mysterious process, and I wasn’t sure if I’d get it right. But the results blew me away! The flavors were bold, tangy, and just the right amount of spicy. Each batch has its own personality, depending on the ingredients and how long I let it ferment.
Over time, I’ve developed my own rituals. I make a fresh batch every month and share jars with friends and family. Watching their faces light up as they taste homemade kimchi is incredibly rewarding.
Why This Kimchi Recipe Works
- Beginner-Friendly: Clear instructions make it easy for anyone to follow.
- Authentic Flavors: The combination of gochugaru, fish sauce, and fresh ingredients delivers a traditional taste.
- Customizable: Whether you like it mild or fiery, this recipe is adaptable to your preferences.
- Probiotic Power: Homemade kimchi is rich in beneficial bacteria, which supports digestion and overall health.
Serving Ideas for Your Homemade Kimchi
- As a Side Dish: Serve it alongside rice and grilled meat or tofu.
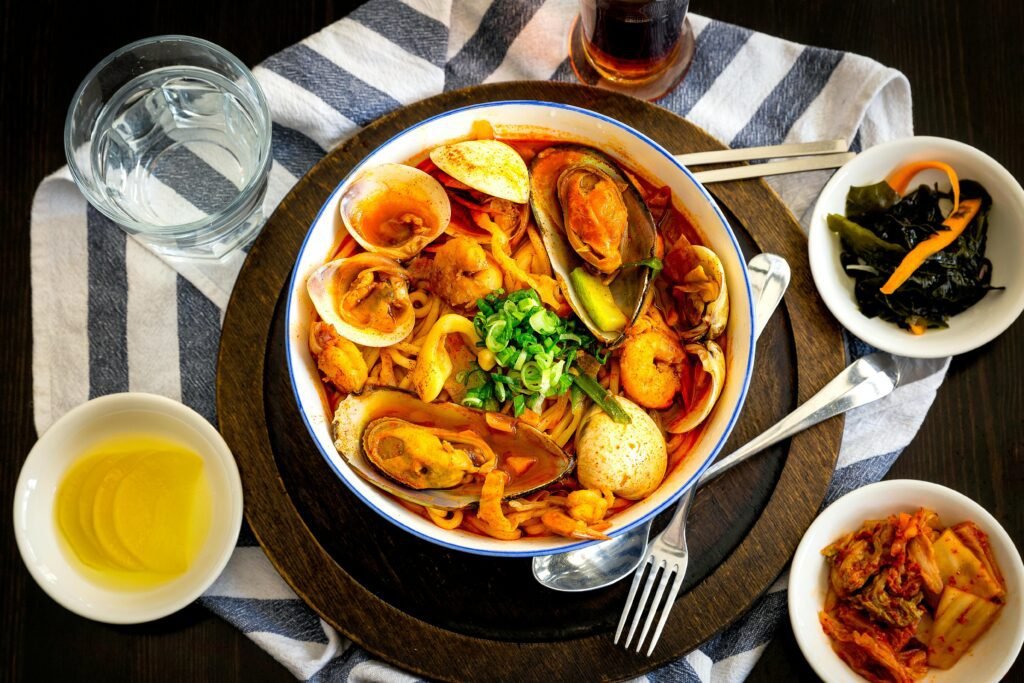
- In Stews: Add a handful to soups like kimchi jjigae for an instant flavor boost.
- In Fried Rice: Stir-fry it with day-old rice, eggs, and sesame oil for a quick meal.
- In Sandwiches or Tacos: Kimchi adds a tangy kick to any dish.
Final Thoughts on Making Kimchi
Making kimchi at home is more than just a culinary project—it’s a journey into a tradition that dates back centuries. Each batch carries a little piece of history, a lot of flavor, and plenty of love. Whether you’re a fan of Korean cuisine or simply curious about fermentation, this kimchi recipe is the perfect starting point.
If you try this recipe, I’d love to hear about your experience. Leave a comment below and let me know how it turned out. Remember, the beauty of kimchi lies in its imperfections—every batch is unique, just like your journey.
