How to Make Chocolate Croissants:
My Experience with a Perfect Homemade Treat
There’s nothing quite like the buttery, flaky goodness of a freshly baked chocolate croissant. Whether it’s a luxurious breakfast, a snack with coffee, or a dessert to impress guests, chocolate croissants always bring joy. I’ve been obsessed with them for years and decided to conquer the challenge of making them from scratch. While it seemed intimidating at first, I discovered that with patience and the right techniques, creating homemade chocolate croissants isn’t just achievable—it’s incredibly rewarding.
Let me walk you through my journey of making chocolate croissants at home, including tips, tricks, and lessons I’ve learned along the way.
Why Make Chocolate Croissants at Home?
If you’re like me, you probably love the ones from your favorite bakery. But homemade croissants are something special. You control the ingredients, ensuring top quality, and can customize the chocolate filling to suit your taste. Plus, there’s a sense of accomplishment in crafting these delicious pastries from scratch.
Ingredients for Chocolate Croissants
Here’s what you’ll need to make about 12 chocolate croissants:
For the Dough:
- 4 cups (500g) all-purpose flour
- 1/4 cup (50g) granulated sugar
- 2 tsp salt
- 1 tbsp instant yeast
- 1 cup (240ml) cold whole milk
- 1/2 cup (120ml) cold water
- 1 cup (225g) unsalted butter, cold and cut into slices
For the Filling:
- High-quality dark chocolate sticks or bars (about 3-4 ounces)
For the Egg Wash:
- 1 egg
- 1 tbsp milk


Step-by-Step Recipe for Chocolate Croissants
1. Starting the Dough
Making the dough is the first step and requires precision. I mixed the flour, sugar, salt, and yeast in a large mixing bowl. Then, I added the cold milk and water, combining everything until it formed a rough dough.
I’ll admit, my first attempt was messy. The dough felt sticky and unmanageable, but I soon realized the trick: keep everything cold. Cold ingredients help maintain the dough’s integrity, preventing the butter from melting prematurely during lamination (the layering process).
After mixing, I wrapped the dough in plastic wrap and let it chill in the fridge for about an hour.
2. Preparing the Butter Block
The butter block is what gives croissants their signature flaky layers. To make it, I placed the cold butter slices between two sheets of parchment paper and rolled it out into a 7×7-inch square.
Tip: Keep the butter block and dough at similar temperatures. If one is too warm or cold compared to the other, it can make rolling difficult.
3. Laminating the Dough
This part was where I struggled the most initially but quickly became my favorite step. After chilling the dough, I rolled it into a 10×10-inch square and placed the butter block in the center. I folded the dough over the butter, like an envelope, and sealed the edges.
Next came the rolling and folding:
- Roll the dough into a rectangle (about 20×10 inches).
- Fold it into thirds, like folding a letter.
- Wrap it in plastic wrap and refrigerate for 30 minutes.
This process is repeated three times, with chilling in between. Each fold creates the buttery, flaky layers that make croissants irresistible.
4. Shaping the Croissants
After completing the folds, I rolled the dough into a large rectangle, about 24×12 inches. I used a sharp knife to cut the dough into 4×4-inch squares.
For each croissant, I placed a piece of chocolate along one edge of the square, rolled it up tightly, and tucked the seam underneath. This step felt so satisfying—it’s where they start looking like real croissants!
5. Proofing the Croissants
Proofing was another area where I learned patience. I placed the croissants on a baking sheet lined with parchment paper and let them rise in a warm spot for 1-2 hours.
The first time, I rushed this step, and they didn’t puff up as much as they should have. Now, I always wait until they’ve doubled in size, ensuring they bake up light and airy.
6. Baking
Before baking, I brushed the croissants with an egg wash (1 egg whisked with 1 tbsp milk). This step gives them that beautiful golden-brown finish.
I baked them in a preheated oven at 375°F (190°C) for about 20-25 minutes, until they were golden and smelled heavenly.
My Tips for Success
- Chill Often: Keeping the dough and butter cold is crucial for flaky layers.
- Use High-Quality Chocolate: The better the chocolate, the more delicious the croissants. I prefer dark chocolate sticks for their perfect size and flavor.
- Be Patient: The process takes time, but each step contributes to the final product.
- Don’t Overwork the Dough: Handle it gently to avoid melting the butter or ruining the layers.
Why I Love Making Chocolate Croissants
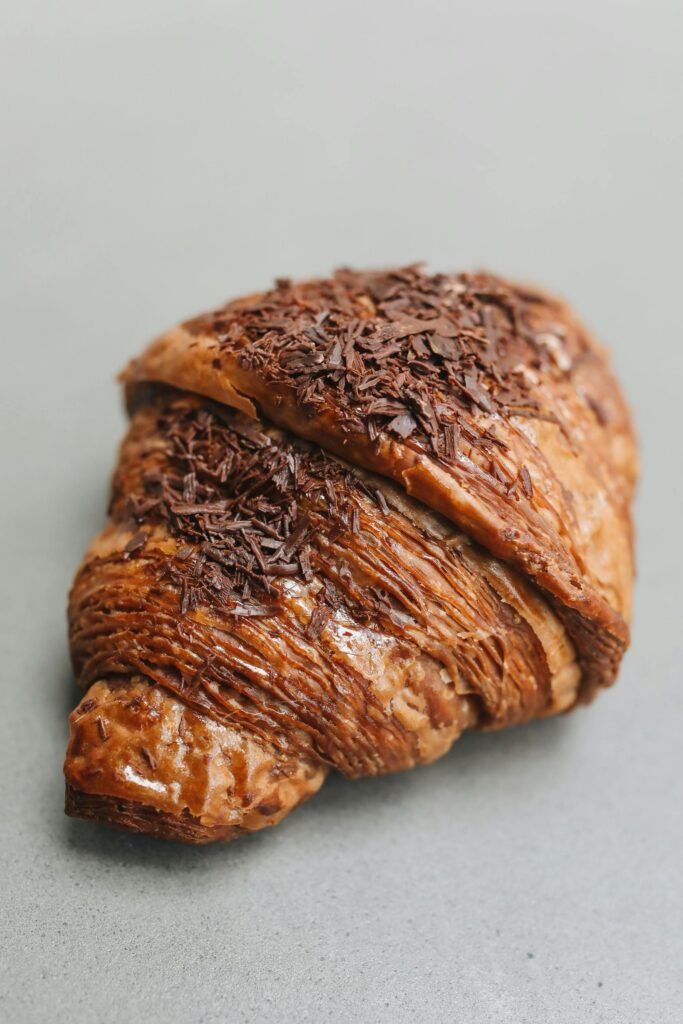
The first time I pulled a tray of golden, flaky chocolate croissants out of the oven, I was hooked. The layers were visible, the chocolate was perfectly melted, and the taste? Absolutely divine.
Baking croissants has become a special weekend project for me. It’s a labor of love, but the reward of biting into a warm, homemade croissant makes every step worth it.
Serving and Storing Chocolate Croissants
Serving
I love serving chocolate croissants slightly warm, with the chocolate still soft and gooey. A dusting of powdered sugar adds a touch of elegance.
Storing
If you have leftovers (which rarely happens in my house), you can store them in an airtight container at room temperature for 1-2 days. To reheat, pop them in the oven at 300°F (150°C) for a few minutes.
Croissants can also be frozen before proofing. When ready to bake, let them thaw and rise before continuing with the recipe.

The Joy of Homemade Chocolate Croissants
Making chocolate croissants from scratch is a journey filled with buttery hands, flour-dusted counters, and moments of pure satisfaction. Every time I bake them, I’m reminded of why I started: to create something beautiful and delicious for my family and friends.
If you’re considering making chocolate croissants at home, I encourage you to give it a try. It might seem intimidating at first, but with practice, you’ll find your rhythm. And trust me, the first bite of your homemade chocolate croissant will make every effort worthwhile.
Final Thoughts
Learning how to make chocolate croissants has been one of the most rewarding baking experiences of my life. Each time I bake them, they turn out better, and I’ve come to appreciate the process as much as the final result.
So, roll up your sleeves, gather your ingredients, and start your own chocolate croissant journey. You’ll not only make a delicious treat but also create memories that will last forever.
Enjoy baking, and happy croissant-making! 😊
